Building a PC for video editing is a rewarding venture that ensures you have a machine tailored to your specific needs. Video editing demands high performance, ample storage, and reliable components. This article covers the necessary steps to construct a high-efficiency video editing PC.
1. Define Your Requirements
Before diving into the actual hardware, define your needs:
- Editing Software: Adobe Premiere Pro, Final Cut Pro, or DaVinci Resolve?
- Resolution: Are you editing 1080p, 4K, or higher?
- Additional Tasks: 3D rendering, color grading, or animation?
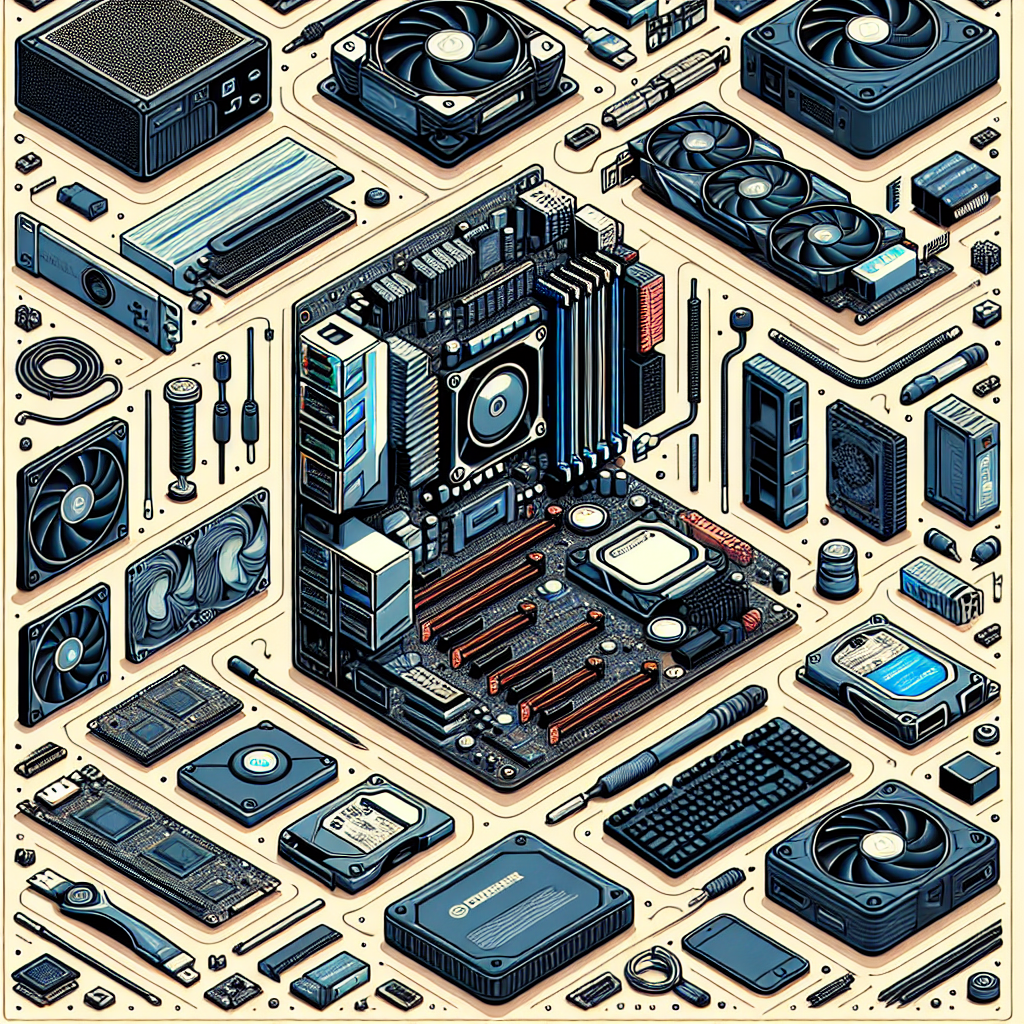
2. Choose the Right Components
Selecting the right components is crucial for optimal performance. Here’s a breakdown:
Processor (CPU)
A powerful CPU is a cornerstone for video editing, allowing for faster rendering and smoother operation.
| CPU Model | Cores/Threads | Base Clock | Boost Clock | Price |
|---|---|---|---|---|
| Intel Core i9-12900K | 16/24 | 3.2 GHz | 5.2 GHz | $589 |
| AMD Ryzen 9 5900X | 12/24 | 3.7 GHz | 4.8 GHz | $549 |
Graphics Card (GPU)
A high-end GPU is paramount for GPU-accelerated tasks.
| GPU Model | VRAM | Cores | Price |
|---|---|---|---|
| NVIDIA GeForce RTX 3080 | 10GB | 8704 | $699 |
| AMD Radeon RX 6800 XT | 16GB | 4608 | $649 |
Memory (RAM)
More RAM allows for faster multitasking and handling larger files.
| RAM Size | Speed | Price |
|---|---|---|
| 32GB | 3200 MHz | $160 |
| 64GB | 3200 MHz | $320 |
Storage
SSD for OS and software, while an HDD for bulk storage is ideal.
| Storage Type | Size | Price |
|---|---|---|
| NVMe SSD | 1TB | $140 |
| HDD | 4TB | $100 |
Motherboard
Choose one compatible with your CPU socket and other components.
Example: ASUS ROG Strix Z690-E for Intel builds or MSI MPG B550 for AMD builds.
Cooling Solution
Efficient cooling ensures thermal stability during intensive tasks.
Power Supply Unit (PSU)
An 80 Plus Gold-rated PSU ensures reliability and efficiency. Aim for 750W or higher.
Case
A case with good airflow, ample space, and aesthetic appeal can make a significant difference.
3. Assembling the Components
Start with a clean, static-free workspace:
- Install the CPU on the motherboard.
- Install the RAM modules.
- Attach NVMe SSD (if applicable).
- Mount the motherboard inside the case.
- Install the cooling solution (air cooler or AIO liquid cooler).
- Install the GPU.
- Install additional storage (HDD/SSD).
- Connect the PSU.
- Organize and manage the cables.
4. Setting Up the Software
Once the hardware is assembled, install the OS and necessary software:
- Install Windows or macOS.
- Update BIOS and drivers.
- Install video editing software.
- Install essential plug-ins and tools.
5. Optimizing Performance
Optimize your setup for peak performance:
- Enable XMP profile for RAM in BIOS.
- Adjust power settings for performance.
- Use SSD for scratch disks and cache files.
- Monitor system temperatures.
6. Regular Maintenance
Keep your system running smoothly long-term:
- Clean dust filters and components.
- Update software and firmware regularly.
- Monitor performance and troubleshoot issues proactively.
Conclusion
Building a video editing PC involves careful selection of components, meticulous assembly, and ongoing maintenance. A well-built PC can handle intensive editing tasks efficiently, helping you achieve your creative goals with ease. Take the time to plan, invest in quality components, and enjoy a custom-built machine that meets your video editing needs.