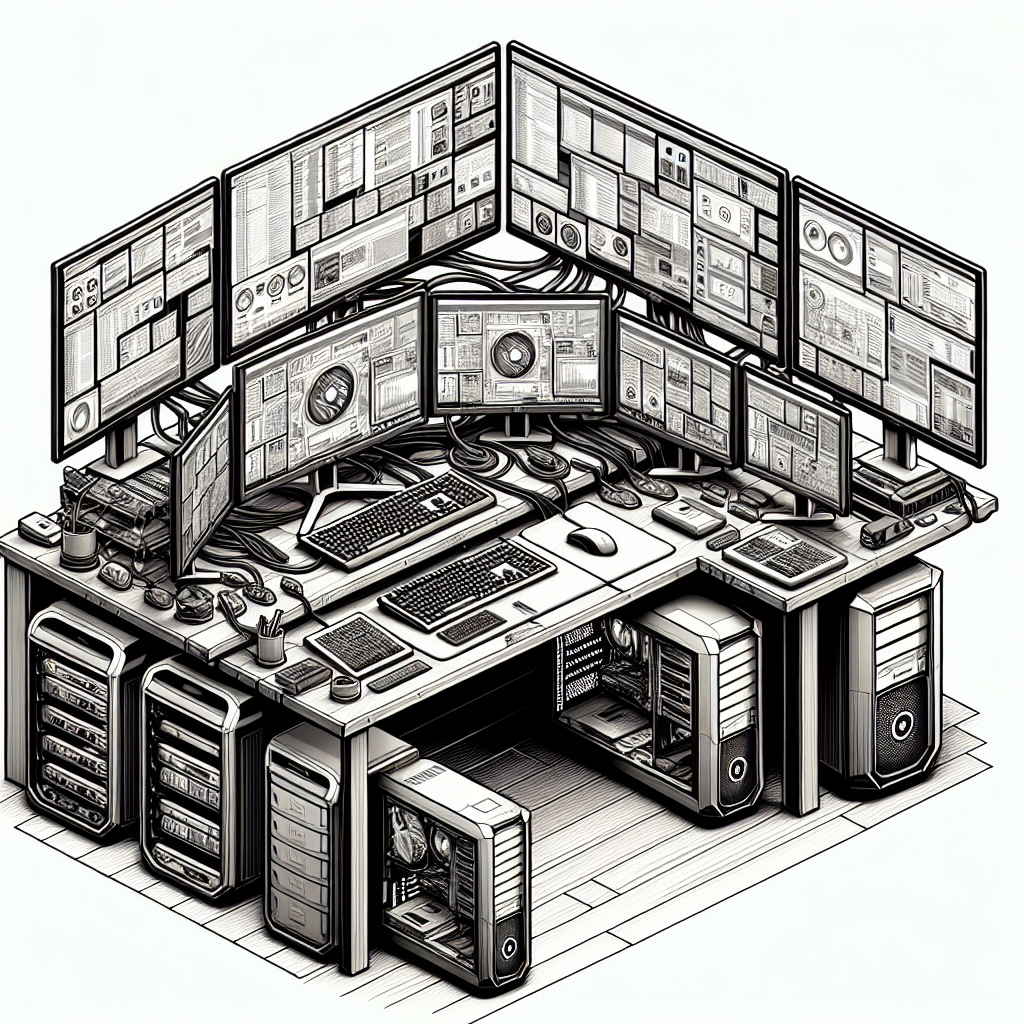
In today’s digital age, having a multi-monitor setup can significantly enhance your productivity, whether you’re gaming, working, or consuming media. Setting up a multi-monitor configuration on a custom PC can seem daunting, but with the right guidance, it can be quite straightforward. This comprehensive guide covers everything you need to know to set up your multi-monitor configuration successfully.
1. Assess Your Hardware
Before diving into the setup process, it’s crucial to assess the hardware you currently have and determine if any upgrades are needed.
Graphics Card
A powerful graphics card is essential for supporting multiple monitors. Modern graphics cards typically come with multiple display outputs such as HDMI, DisplayPort, and DVI.
| Graphics Card Model | Number of Outputs |
|---|---|
| NVIDIA GeForce RTX 3080 | 3x DisplayPort, 1x HDMI |
| AMD Radeon RX 6800 | 2x DisplayPort, 1x HDMI, 1x USB-C |
| NVIDIA Quadro P4000 | 4x DisplayPort |
Monitors
Ensure that your monitors support the same input types as your graphics card. It helps to have identical monitors, but different models and brands can also work. For a seamless experience, consider monitor resolution and refresh rate.
Monitor Considerations:
- Resolution: Ensure all monitors have the same resolution for consistency.
- Refresh Rate: Matching refresh rates can provide a smoother experience.
- Connectivity: HDMI, DisplayPort, and DVI are common options.
2. Connect Your Monitors
Once your hardware is ready, you can proceed with connecting the monitors to your custom PC. Follow these steps:
- Step 1: Turn off your PC.
- Step 2: Connect each monitor to the appropriate port on your graphics card.
- Step 3: Ensure all cables are securely connected.
- Step 4: Turn on your PC and monitors.
3. Configure Display Settings
After physically connecting the monitors, you’ll need to configure display settings on your operating system to optimize the setup.
Windows 10/11
- Step 1: Right-click on the desktop and select Display settings.
- Step 2: You should see a diagram of your monitors. Click Detect if a monitor is not displayed.
- Step 3: Under Multiple displays, select Extend these displays or Duplicate these displays based on your preferences.
- Step 4: Arrange the monitors by dragging them to match your physical setup.
- Step 5: Adjust resolution and orientation for each monitor as needed.
macOS
- Step 1: Go to System Preferences and select Displays.
- Step 2: Click on the Arrangement tab.
- Step 3: Drag the monitors to position them correctly.
- Step 4: Check Mirror Displays if you want the same content on all screens.
- Step 5: Adjust the resolution and rotation as needed.
4. Optimize Performance
Optimizing performance ensures smooth operation and makes the most of your multi-monitor setup.
Driver Updates
Make sure your graphics drivers are up to date. Manufacturers frequently release updates to improve performance and compatibility.
Task Management
- Use shortcut keys to navigate quickly between monitors.
- Organize your desktop and taskbar to keep track of different tasks efficiently.
Software Tools
Consider using software like DisplayFusion or UltraMon to enhance your multi-monitor experience. These tools offer features like multi-monitor taskbars, customizable hotkeys, and more.
5. Troubleshooting Common Issues
If you encounter any issues, here are some common troubleshooting tips:
- No Display: Check cable connections and ensure the monitor is turned on.
- Incorrect Resolution: Adjust settings in display settings on your OS.
- Monitor Not Detected: Check for driver updates and reconnect the monitor.
Conclusion
Setting up a multi-monitor configuration on a custom PC can greatly enhance your efficiency and overall experience. By assessing your hardware, properly connecting your monitors, and configuring display settings, you can create a powerful workstation tailored to your needs. Optimize performance and troubleshoot common issues to make the most of your multi-monitor setup. Happy computing!

